Toll Free: 866.905.6744 | Local: 845.652.5250
Choosing high end speaker cables is less about finding a magical upgrade and more about matching a cable to your system. The right choice depends on speaker impedance, cable length, amplifier output, and the connectors your equipment accepts. A thick cable may be useful for a long run, while a shorter connection may not need the same gauge. Check the manufacturer’s specifications before buying. Small details matter. A secure banana plug or spade lug, for example, can make setup cleaner and reduce the chance of a loose connection.
Price and appearance can be persuasive, but neither proves better sound. Look for clear information about conductor material, gauge, insulation, and measured resistance. For most home systems, a properly sized, well-made cable is a sensible starting point. Keep the runs similar in length when practical, avoid sharp bends, and make sure bare wire cannot touch neighboring terminals. Not the price tag. It’s easy to overthink cable choice, and some listening impressions are difficult to separate from expectation. There is no single perfect option for every room or setup. A careful comparison at matched volume may help, though the differences can be subtle. This guide explains how to assess construction, compatibility, and value, so your choice rests on practical evidence rather than impressive packaging alone.
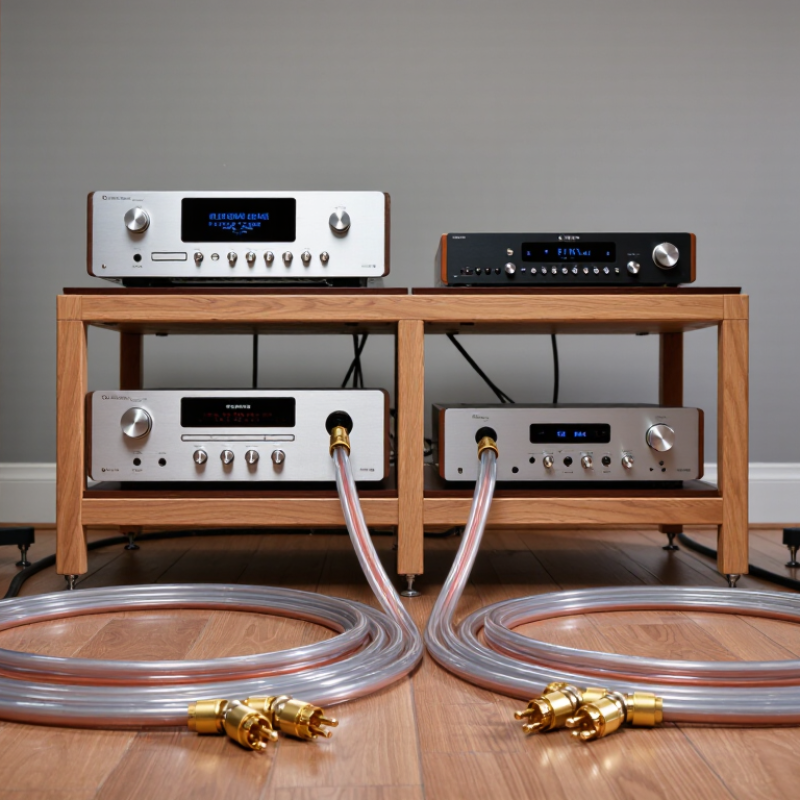
High-end speaker cables carry the amplifier’s signal to the speakers, so their practical role is electrical, not magical. A cable’s resistance can affect performance, especially when it is very long or too thin for the system. For a typical living room, a suitable wire gauge and secure connections matter more than an impressive-looking jacket. Details matter.
Cable length is worth checking. A long run to a rear speaker may call for thicker conductors than a short connection beside a stand-mounted speaker. Keep both channels at similar lengths when convenient, and make sure the bare wire or connector sits firmly in the terminal. Loose contact can cause intermittent sound; that is easy to overlook.
“High-end” alone does not guarantee audible improvement. In a properly matched setup, differences may be subtle, and room acoustics or speaker placement can have a larger effect. A practical approach is to choose a cable with appropriate gauge, durable insulation, and connectors that fit your equipment. Then listen at your usual volume with familiar music. I might still be tempted by a beautifully finished cable, but appearance is not evidence of better sound. That distinction deserves a little skepticism.
For a 10 m one-way cable run, the chart shows the approximate round-trip resistance of copper wire at 20°C. Thicker wire has a lower AWG number and lower resistance. Keeping cable resistance low helps reduce voltage loss, especially with long runs or low-impedance speakers.
Approximate values calculated from standard copper AWG resistance figures; actual resistance varies with temperature and cable construction.
Matching Cable Specifications to Your Audio System
A cable should suit the amplifier, speakers, and distance between them—not a price label. Start with the run length. Longer runs have greater electrical resistance, so thicker conductors can help preserve output, especially with low-impedance speakers. For many home systems, 12- or 14-gauge copper is a practical starting point; check the equipment manuals before deciding. Short runs may not need heavy cable.
Look at the speaker’s nominal impedance and the amplifier’s guidance. A four-ohm speaker can draw more current than an eight-ohm model, making conductor resistance more relevant. Keep left and right cables close in length, and use secure terminations that fit the binding posts. Bare wire can work, but stray strands are easy to miss. A quick visual check matters.
Capacitance and inductance are also cable properties, though ordinary, sensibly designed speaker cables rarely need elaborate calculations in typical rooms. If an amplifier specifies limits, follow them. Otherwise, avoid unusually long or exotic constructions without a clear reason. I still find this easy to overthink. Measure twice. Compare the cable’s published resistance per length, then listen at familiar levels. Changes may be subtle, and expectation can color impressions. No magic here. Reliable matching starts with specifications, not dramatic claims.
High-end speaker cable selection is less about prestige and more about controlling resistance, fit, and durability. Copper offers strong conductivity and practical flexibility; silver conducts slightly better, but that small electrical gain rarely justifies its cost in ordinary home runs. The material choice matters, but it cannot compensate for an undersized conductor or poor connections.
Gauge has measurable consequences. IEC 60228 lists maximum DC resistance at 20°C as 7.41 ohms per kilometre for 2.5 mm² copper and 4.61 ohms for 4 mm². On a five-metre run, current travels ten metres through both conductors: 2.5 mm² cable therefore contributes about 0.074 ohms. That is under one percent of a nominal 8-ohm load, though speaker impedance changes with frequency. For longer runs or lower-impedance speakers, thicker cable can reduce losses. Check the actual route, not just the distance from amplifier to speaker.
Construction affects handling and electrical behavior. Fine-stranded conductors bend more easily around a cabinet; tight twists or paired conductors can help control electromagnetic coupling. Cable geometry also affects inductance and capacitance, so extreme designs are not automatically better. Details matter. A useful reality check is measuring loop resistance with a suitable meter and inspecting terminations for loose strands. I would not treat one measurement as proof of sound quality, but it can expose a poor connection. Keep the choice practical: correct gauge, secure ends, and cable that survives installation.
Choosing high-end speaker cables starts at the amplifier and speaker terminals, not with appearance. Check the binding posts before choosing banana plugs, spade lugs, or bare-wire connections. The connector should fit securely without forcing the post or leaving loose strands exposed. A snug fit matters more than a polished finish. If you move equipment often, sturdy connectors can make reconnection easier; fixed installations may need a simpler termination.
Length affects both resistance and installation. Measure the actual route, including turns around furniture or through conduit, then leave modest slack for service. Very long runs may benefit from a thicker conductor, especially with low-impedance speakers. Keep left and right cable lengths similar when practical, but do not add excessive cable just to make them identical. Measure twice. I tend to forget the extra distance behind cabinets, and that small mistake can complicate a clean installation.
Plan the route before cutting. Keep speaker cables away from power cords where possible, avoid sharp bends, and protect sections that cross walkways. Label both ends; the tags are not elegant, but they save time when moving components. Check that the cable does not pull on the terminals once the speakers are in place. Not glamorous. A connector that loosens after installation is a warning to revisit the fit, not a reason to keep tightening blindly.
| Selection Factor | Options or Situation | Practical Guidance | Installation Check |
|---|---|---|---|
| Connector type | Banana plugs | Useful for quick connection and disconnection when the amplifier and speaker terminals accept banana plugs. | Check terminal compatibility and ensure the plug is fully seated and secure. |
| Connector type | Spade lugs | Can provide a secure clamped connection on compatible binding posts, particularly where cables are rarely moved. | Choose a spade width that fits the binding post; tighten the post without over-tightening. |
| Connector type | Bare wire | Can connect directly to terminals designed for bare-wire clamping, without an added connector. | Strip only enough insulation for the terminal and prevent stray strands from touching another terminal. |
| Cable length | Short, matched runs | Measure the route from amplifier to each speaker and allow a modest service loop. Similar lengths can simplify setup. | Keep cables away from walkways and avoid pulling them taut behind equipment. |
| Cable length | Longer runs | Longer cable runs have more electrical resistance. Consider a larger conductor size as the run length increases. | Measure the full cable path, including routing around furniture, walls, or racks. |
| Conductor size | Gauge selected for run length and speaker load | Thicker conductors have lower resistance. Choose a suitable gauge using the cable manufacturer’s resistance data and the system’s run length and speaker impedance. | Confirm the cable fits the connectors and binding posts; thicker cable may require compatible terminations. |
| Routing | Along walls, racks, or baseboards | Use a route that protects the cable from crushing, abrasion, and sharp bends. | Use suitable clips or raceways, and do not fasten the cable so tightly that it is pinched. |
| Polarity | Positive and negative terminals | Connect amplifier positive to speaker positive and amplifier negative to speaker negative on every channel. | Use the cable’s markings or color coding consistently at both ends. |
| Room and equipment layout | Visible, concealed, or in-wall installation | Select a cable construction appropriate to its location. In-wall installations require cable rated for the applicable building and fire-safety requirements. | Check local requirements and the cable’s printed rating before routing it inside walls. |
| Final inspection | Before powering on | Verify that every connection is firm and that no exposed conductor can bridge adjacent terminals. | Recheck polarity and gently tug each connection to confirm it is secure. |
A high-end speaker cable should fit the system, not just look impressive. Check the amplifier and speaker terminals before comparing materials or finishes. Some systems use binding posts; others need different connectors. A mismatch wastes money.
Cable length and wire gauge affect electrical resistance. For a long run, a thicker conductor can help limit signal loss. Keep both cable lengths similar, and route them away from power cords where practical. Small details matter. Yet thicker is not automatically better: check the equipment’s guidance and choose a flexible cable that fits your room. Capacitance and inductance can also vary, so unusual designs deserve careful compatibility checks.
Performance claims need perspective. In a controlled comparison, level-match the system and use familiar recordings with clear vocals, cymbals, and bass notes. Listen for consistent differences, not a dramatic first impression. Listening tests are imperfect; expectation and small volume changes can sway judgment. I would treat a costly cable as worthwhile only if it solves a real installation need or delivers a repeatable improvement. Compare total price, connectors, durability, and return terms. The best value may be a well-made, correctly sized cable rather than the most expensive option.