7 Belt Measuring Tool Tips for Accurate Sizing
A belt that looks right on a table may still sit too loosely at the waist. Small shifts matter. A measurement taken over a thick sweater, a tilted tape, or the wrong belt hole can change the result. A Belt Measuring Tool helps make those checks more repeatable, but only when it is used with a clear method.
Professional measurement guidance offers a useful foundation. ISO 8559-1:2017 defines anthropometric terms and body-measurement procedures for clothing; it is not a belt-sizing standard. NIST Technical Note 1297 explains how measurement uncertainty should be evaluated and reported. Together, these references reinforce a practical point: record what you measured, where you measured it, and how consistently you repeated it. They do not provide a universal belt-size conversion, so brand-specific charts still matter.
The seven tips ahead focus on real measuring details: laying the belt flat, identifying the buckle’s measurement point, and checking the hole used most often. Measure twice. Compare results with the manufacturer’s chart before ordering. For a worn belt, measure from the buckle’s inner edge to the regularly used hole—not simply from end to end. That distinction is easy to miss. Even careful measurements can vary with belt shape, stretch, and personal fit preference. Note those limits rather than treating one reading as exact; accurate sizing is a repeatable process, not a promise of perfect fit.
Choosing a Belt Measuring Tool for the Belt Type
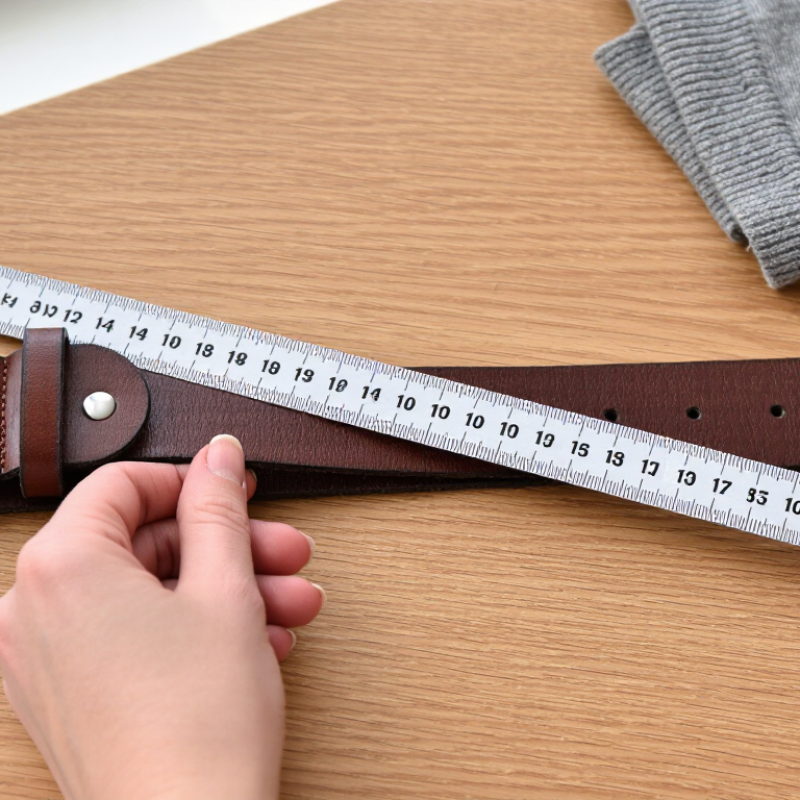
Choosing a belt measuring tool for the belt type helps prevent small errors from becoming an uncomfortable fit. For a straight leather belt, use a rigid ruler or a tape measure along its centerline. Measure from the buckle’s fold to the hole you use most often, not just from tip to tip. Keep it flat. A stiff work belt may resist bending, so a ruler can be easier to control than a soft tape.
For woven webbing, use a flexible tape and lay the belt on a table without pulling it taut. The fibers can stretch slightly under tension. No stretching. Elastic belts need extra care: measure them in a relaxed state, and note whether the finished size should include stretch. For a contoured or tapered belt, run the tape down the center rather than along an edge, which may curve or narrow.
Check the tool’s starting point before measuring. Some tapes have a small offset at the metal end, and that can shift a short measurement. I would measure twice, especially with a thick buckle or an unusual belt shape. Still, a measurement is only as useful as the fit you want; an old belt may have stretched, and its worn holes are not always a perfect guide.
Preparing the Belt and Tool Before Measuring
Before using a belt measuring tool, place the belt on a clean, flat surface with good lighting. Undo the buckle, smooth any twists, and let the material rest without pulling it tight. Stretching a flexible belt can change the reading. No pulling.
Check the tool before measuring. Make sure its scale is readable, its starting point is clear, and any sliding marker moves freely. If it is a tape-style tool, lay it straight rather than letting it bow across the belt. A small bend can shift the result. Keep it simple.
Follow the tool’s instructions for where to begin and end the measurement, since methods can differ. If you are measuring a belt you already wear, note the hole you use most often, but do not assume every tool measures to that point. I sometimes want to rush this setup; that is usually when the belt shifts and I have to start over. Take a second to check that the buckle and belt lie flat before reading the scale.
Finding the Correct Measurement Reference Points
Finding the Correct Measurement Reference Points
An accurate belt measurement begins at the place the belt will sit, not automatically at the natural waist. Measure over the trousers or skirt usually worn with it. Keep the tape level around the body, snug but not tight, and breathe normally. Small shifts matter.
The CDC’s 2015–2018 NHANES data report mean waist circumferences of about 40.5 inches for adult men and 38.7 inches for adult women. These population averages are not belt-size recommendations. They show why a standard chart cannot replace an individual measurement.
For a belt already in use, measure from the buckle’s fold or pin to the hole used most often. Do not measure the full strap unless the tool’s instructions specifically ask for it.
Check the reference points twice. A thick buckle, curved belt, or unusual hole spacing can change the result. I would record both the body measurement and the belt measurement; they are easy to confuse. Then compare like with like against the maker’s sizing method, without assuming every tool starts at the same point. Some ambiguity remains. Keep it noted.
Taking and Verifying the Belt Measurement
Lay the belt flat on a table, with the buckle closed and the strap straight but not stretched. A flexible measuring tape works well; a rigid ruler is useful for checking shorter distances. Measure from the point where the buckle’s prong pivots to the hole you use most often. Do not measure from the buckle’s outer edge, which can add several confusing inches. Mark the endpoint lightly, then read the tape at eye level. Small detail, big difference.
Repeat the measurement once, then compare it with your waist or hip circumference where you actually wear the belt. Measure over your usual clothing, keeping the tape snug without pressing into the fabric. If the two readings disagree, check that the belt was flat and the tape started at the prong pivot. I used to assume a belt’s stamped size matched its full length; that shortcut is unreliable. Instead, compare your measured buckle-to-hole distance with the maker’s sizing chart, since sizing conventions can vary. Write down the measurement and the hole used. A quick note prevents guesswork later. Remember that worn leather may soften or stretch slightly, so a reading from an old belt is a reference, not a perfect standard.
Using the Measurement to Select the Right Belt Size
A belt measurement is useful only when it matches how you plan to wear the belt. If you usually thread it through your trousers, measure around your waist over those trousers, at the height where the belt will sit. Keep the tape snug, not tight. Stand naturally. A deep breath can shift the reading.
Compare that number with the maker’s sizing chart, and check what its size represents. Some charts use waist measurements; others measure from the buckle pin to a middle hole. If measuring a belt you already wear, lay it flat and measure from the pin to the hole you use most. Do not measure the full strap length. That extra length can lead to a belt that hangs awkwardly.
Allow room for ordinary changes in clothing, but avoid adding inches by guesswork. A thick winter layer may affect the fit; a thin shirt may not. Belt widths and buckle designs can also change how a belt sits. Charts are not perfectly consistent, which is easy to overlook. If your measurement falls between sizes, compare the chart’s measuring method and consider whether you prefer a closer fit or more adjustment room. A second measurement helps catch tape slips.